Merry Christmas!!
 I hope your holiday is just amazingly wonderful 
and full of many blessings.

Today the Trendy Twine Design Team is
 sharing some Christmas projects.
So make sure to stop by the Trendy Twine blog 
to check them all out.

I made a fun and playful card using the Reindeer Games from Mama Elephant with lots of Trendy Twine that they managed to get all tangled up in!


Close up of the cute reindeer, see the one holding a mini spool of Cranberry Trendy Twine? 
 I made the little gifts with various squares and rectangle of scrap paper and added some Trendy Twine bows in Totally White, Totally Red, Cranberry and Holly Berry.
The reindeer were colored with copic markers and I added some stickles and glossy accents to them.
They are using some Cranberry Trendy Twine to play with, 
of course!
The sentiment is heat embossed in white and is from a much used Scrappy Mom's Winter Wishes stamp set.

Trendy Twine Products used:
Totally White Trendy Twine

Totally Red Trendy Twine

Cranberry Trendy Twine


Thank you so much for stopping by today!

Don't forget to check out: 
Trendy Twine Blog for more inspiration
Share your creations at the Twine It Up! Facebook group

Have a wonderful Christmas day!!

Other products Used:
Reindeer Games (Mama Elephant Stamps)
Winter Wishes (Scrappy Moms Stamps)
 White embossing powder and Versamark
Copic markers
Snow day 6x6 paper (Lawn Fawn)
Stitched Rectangle dies
Xmas Red and Green Stickles
Glossy Accents


Hi Everyone!
I hope you weekend was great!
Today is the 3rd Monday of the month,
also the day my BFF Stacey and I share our monthly
collaboration, Card Harmony. This month we are changing things up a bit and making some tags for the Holiday season.

We are featuring 4 different stamp sets.

Make sure to stop by Stacey's blog to see her tags.
 You certainly won't be disappointed.
Now for my tags!
My first tag is a spinner tag, featuring Reindeer Games by Mama Elephant. This is the front of the tag.

Here is the back of my tag. I made this tag using some simple circle dies, some red embroidery floss and the reindeer die cuts and colored with copic markers. These reindeer are too adorable!! This tag is so interactive and fun, 
our kids just love it!

My second tag features the adorable Winter Alpaca 
from Lawn Fawn.
It's no secret that I just adore alpacas, 
maybe one day I will own a few.
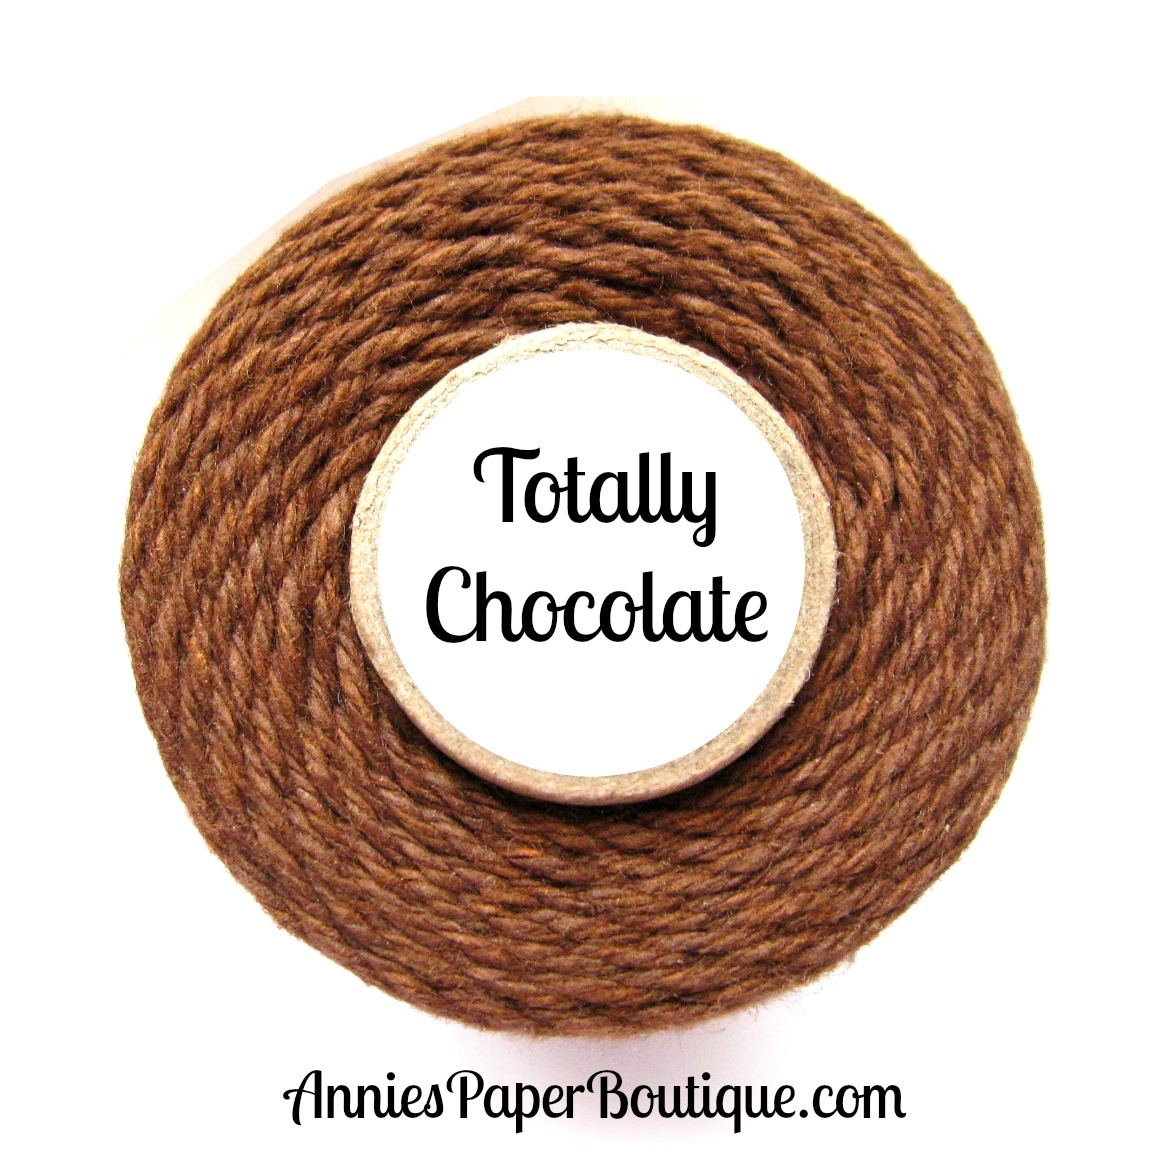
I made this tag with the Lawn Fawn Stitched Journaling Card die, the snow hills were made with Scallop Waves die from Pink & Main stamps. The little gifts are from the Lawn Fawn Trim the Tree stamp set and dies. I added some tinsel ribbon and Totally Red Trendy Twine.

 This next tag features another favorite stamp set of mine, I have wanted this since it was released!! Snow day from Lawn fawn, so cute! I used my prisma colored pencils and gamsol to color the tree and bunny on crumb cake card stock. I added some white snowflakes and the sentiment along with some glittered stickle snow. I topped it with some ruffled red ribbon and Totally White Trendy Twine.


For my last set of Tags, I used the Project Life fuse tool and made some fun shaker tags with the cute Winter Alpaca stamp and die set. I colored these penguins with my prisma colored pencils. I used silver and regular vellum card stock inside the circles. The sequins are from various stores. I also embossed in silver the sentiment and the heart swirls on the vellum. I added an eyelet then some matching colors of Trendy Twines. I also attached the penguin on the outside of the circles. I just love how these came out! 
They were a bit tricky but worth it.

Pink Penguin shaker tag.

Blue penguin shaker tag.

All the tags together. 

I also made another tag I plan to add to my husband's handmade Christmas gift this year. He already knows how much I love Alpacas. :)

Thank you so much for stopping by!
I hope you were inspired and got some good ideas!! 
Have a wonderful day!


Products used:
Reindeer Games tag
Reindeer Games stamp (Mama Elephant)
Winter Wishes stamps (Scrappy Moms stamps)
Tag, You're it die (Lawn Fawn)
Spellbinders Circles die
Snow flake punches (Recollections)
Red Embroidery floss
Old Olive card stock (SU)
'Tis the Season 6x6 paper pad (Echo Park)
Copic markers
Wink of Stella clear glitter brush pen
Xmas red stickles


Winter Alpaca Tag
Scallop Wave die (Pink and Main stamps)
Snowflakes Embossing folder
Copic markers
Brocade Blue ink (SU), Versamark ink, Silver embossing powder
Tinsel Ribbon
Wink of Stella clear glitter brush pen

Snow Day Tag
Winter wishes stamp set (Scrappy Moms stamp)
Prisma color pencils and Gamsol solution
Crumb cake card stock (SU)
Unicorn pigment ink (Hero Arts)
Real Red ink (SU)
White Embossing powder
Ribbon (Hobby Lobby)
Totally White Trendy Twine
Stardust Stickles and Wink of Stella Glitter clear brush pen

Winter Penguin Shaker Tag
Project Life fuse tool and Page protectors
Silver and Regular vellum cardstock (The paper studio)
Snowflake sequins (Recollections)
Tinsel glitter
Colored sequins (JoAnns)
Prisma color pencils and gamsol solution
Silver and Prisma embossing powders
Versamark ink
Eyelets
Trendy Twines


Hi Everyone!
I hope you are having a wonderful week.
Today I am sharing a filler card I made for 
my December Daily using
 some Holiday Trendy Twines and sequins.

For my project, I made a 4x6 filler card.
I used 2 card elements from the Simple Stories Claus & Co. line and made ornaments shaker pockets.
I punched 2 circles with my 1 1/2 in. punch through both cards. I then made two shakers with my Project Life fuse tool and I added a vellum circle and some Holly Berry Sequins. I glued this in between the two cards, then I embellished the ornaments with some Holly Berry and Totally White Trendy Twines and a little gold card stock. The sentiments are some sticker elements from the same collection.

 Close up of the shaker ornaments.


The back side of the card, the pockets are see through but not completely 
because of the vellum.
The sequins can still be seen and that adds a special element to the card.

Products used:

Don't forget to check out: 
Trendy Twine Blog for more inspiration
Share your creations at the Twine It Up! Facebook group

Have a wonderful day!!
Other Products used:
Simple Stories Claus & Co. 4x6 cards, Elements and Stickers
Gold card stock
Vellum card stock
Circle punches- 1.5 in and 1.75 in
Project Life fuse tool
Page protector
Hi Everyone!
I hope you are having a great week so far!

Today I am sharing a Holiday project using the Candy Tin.
I made a Holiday gift tin with some 3x3 cards and chocolate.


I made the 3x3 cards to look like gifts with some Holly Berry Trendy Twine as gift packaging.
Then I added some sentiments using red ink 
on the white cards 
and white heat embossing on the kraft cards.
Then I wrapped six Hershey miniatures with some Holiday patterned paper as an added treat.
This is perfect gift for someone who doesn't craft but could always use some holiday cards and a treat. This container easily holds 4 cards and 6 chocolates.
I added a ribbon belly band to the container and 
a kraft tag with some faux stitching.
I embellished it with a double bow from some white ruffled ribbon and heart button 
with a Holly Berry Trendy Twine bow.

Products used:


Thank you so much for stopping by today!

Don't forget to check out: 
Trendy Twine Blog for more inspiration
Share your creations at the Twine It Up! Facebook group

Have a wonderful day!!

Other Products Used:
Small Talk Stamp set (My Creative Time)
So Happy Stamp set (Verve)
Real Red ink (SU!)
Versamark ink and White Embossing powder (SU!)
 Holiday Patterned Paper (Recollections)
Crumb cake card stock (SU!)
White card stock
Note Tag punch (SU!)
White and Red ruffled ribbon (Hobby Lobby)
Heart button (American crafts)
Hershey Miniatures
Signo White gel pen


Hi Everyone! 

Today I am sharing some Holiday shaker tags with the new Holly Berry Sequin mix,


For my shaker tags, I took 2 of each color Kraft 
and White card stock and cut a simple tag shape 
from my Silhouette and stamped the sentiments on the front and back of the tags. Then I used the Trim the Tree die (Lawn Fawn) to cut one of the tags for the shaker window. I added some clear acetate to the cut window, then some craft foam 
and adhesive for dimension. 
Then I was able to add some of the new Holly Berry sequins.
Adhered the second tag and the shaker tag was just about done. I added a Chevron Trendy Page Dot in Red and some Holly Berry Trendy Twine to the tag and they were done!


I added a stamped From: and To: to the back of the tags.

I had these trees left over from die cutting the craft foam 
so I made some extra tags with them.
I added the To: and From: from the Tag It stamp set (Craftin Desert Divas) and some little hearts from the Lawn Fawn Trim The Tree stamp set.
I added some Holly Berry sequins and a little Holly Berry Trendy Twine.


Products used:


Thank you so much for stopping by today!

Don't forget to check out: 
Trendy Twine blog for more inspiration
Share your creations at the Twine It Up! Facebook group

Have a wonderful day!!

Other Products used:
Trim the Tree stamp and die set (Lawn Fawn)
Tag It stamp set (Craftin Desert Divas)
Real Red and Handsome Hunter ink (SU!)
White, Kraft, Gold and Glitter Gold cardstock (Recollections)
Craft Foam and Acetate

Hi Everyone!

Happy, Happy Thanksgiving!! 
Today and everyday, I pray your days are filled 
with grateful hearts, love and joy.

I am sharing a Thanksgiving day shaker card,
 I made using some of the newest products in the 


Can you believe I used a Fall Starbucks Cup 
to make the background of my card?
I carefully rolled it out, cut it into a rectangle, colored it with Copic markers then cut a window with some circle dies. Adhered some acetate for my window then added my shaker bits which include the New Hello Fall stamps (embossed in gold then watercolored) and Autumn sequins mix.
I added some Totally Pumpkin and 
Totally Chocolate Trendy Twines
 to the front with a sentiment tag.


These are the products I used from 


Thank you so much for stopping by today!
Make sure to stop by the Trendy Twine blog to check out 
what the rest of the team has made!

Don't forget to check out: 
Share your creations at the Twine It Up! Facebook group

Have a wonderful day!! 
Other Products Used:
Fall 2015 Starbucks Cup
Copic Markers
Distress Markers
Pirate Gold Embossing Powder
Wink of Stella glitter brush pen
Watercolor card stock 
Jewelry Tag punch (Stampin Up)
Spellbinder circle dies
Acetate
Pumpkin Pie Cordoury button (Stampin Up)
Kraft and Cream cardstock (Recollections)


Hi Everyone!
I hope your weekend was just wonderful.
Today I am sharing some cards I made over the 
weekend using some sketches
for the November Scrapbook.com card sketch challenge 

I know I always need thank you cards, 
so what a perfect opportunity with the 
I  used some papers I received in the 
Simon Says Stamp November 2015 card kit and 
the Stitched Greetings from Pink & Main Stamps 
stamped with Chocolate Brown MFT hybrid ink.
I added a scalloped stitched border using 
the Stitched Border 1 die from Pretty Pink Posh.
Then to finish the card, I added some
A little faux stitching to the edge and it was done.


The second card I used the adorable Christmouse stamp 
I colored her with my copic markers, added some Wink of Stella clear glitter, Glossy accents and some of my favorite Stardust stickles. I embossed the sentiment that comes with the set in White from SU!. The papers are Snow Day from The paper studio and I added some Real Red and Pool Party cardstock from SU! I added a few pearls from Queen and Co and ribbon from Hobby Lobby.

Thank you so much for stopping by! 
Make sure to join this month's Pink & Main Challenge, there is still time!
Have a wonderful day!