Hi Everyone!!
Today the Trendy Twine Gals, Helen and Sukie are celebrating a design team milestone of 5 years!! So I was asked to be part of the celebration as a friend and Trendy Twine DT Alumni.
Congrats Ladies!! 

For the cards, I decided to copy and replicate with my own style a card from Helen and Sukie.

The first card is for Helen, and I used Lemon Tart Trendy Twine on the card and some bright patterned papers and a die cut flower with a bold sentiment. I was inspired by Helen card design and papers.

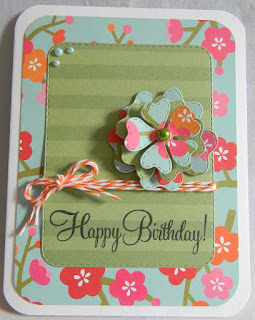
First, I die cut the green patterned paper with a stitched rounded rectangle die (Pink and Main) then stamped the sentiment from the Simply Fabulous Sayings stamp set (My Favorite Things) in black ink. Then I added some Lemon Tart Trendy Twine around the panel and finished with a triple bow. Next, I layered the green panel and the flower panel to a white card base. Then I added the die cut and layered flower and a few sparkly enamel dots and that finished the card.


For Sukie's card,
I was inspired by her tag and butterflies. 

I used a new product from WPlus9- Large Butterfly Frame die and die cut it several times to layer. I colored the inside of the butterflies with some pink copic markers for simple shading then added some sparkle pen for shimmer. To layer behind the die cut panel, I used some pink grid patterned paper. I wrapped the Pinkberry Sorbet Trendy Twine to the right side and finished with a hand cut tag with a 'Celebrate you!' sentiment from My Creative Time in black ink. I added some of the same pink copics to the edge of the tag and added a Pinkberry Sorbet bow with long tails. To finish it off, I added some sparkling clear sequins in 4 and 6mm sizes.


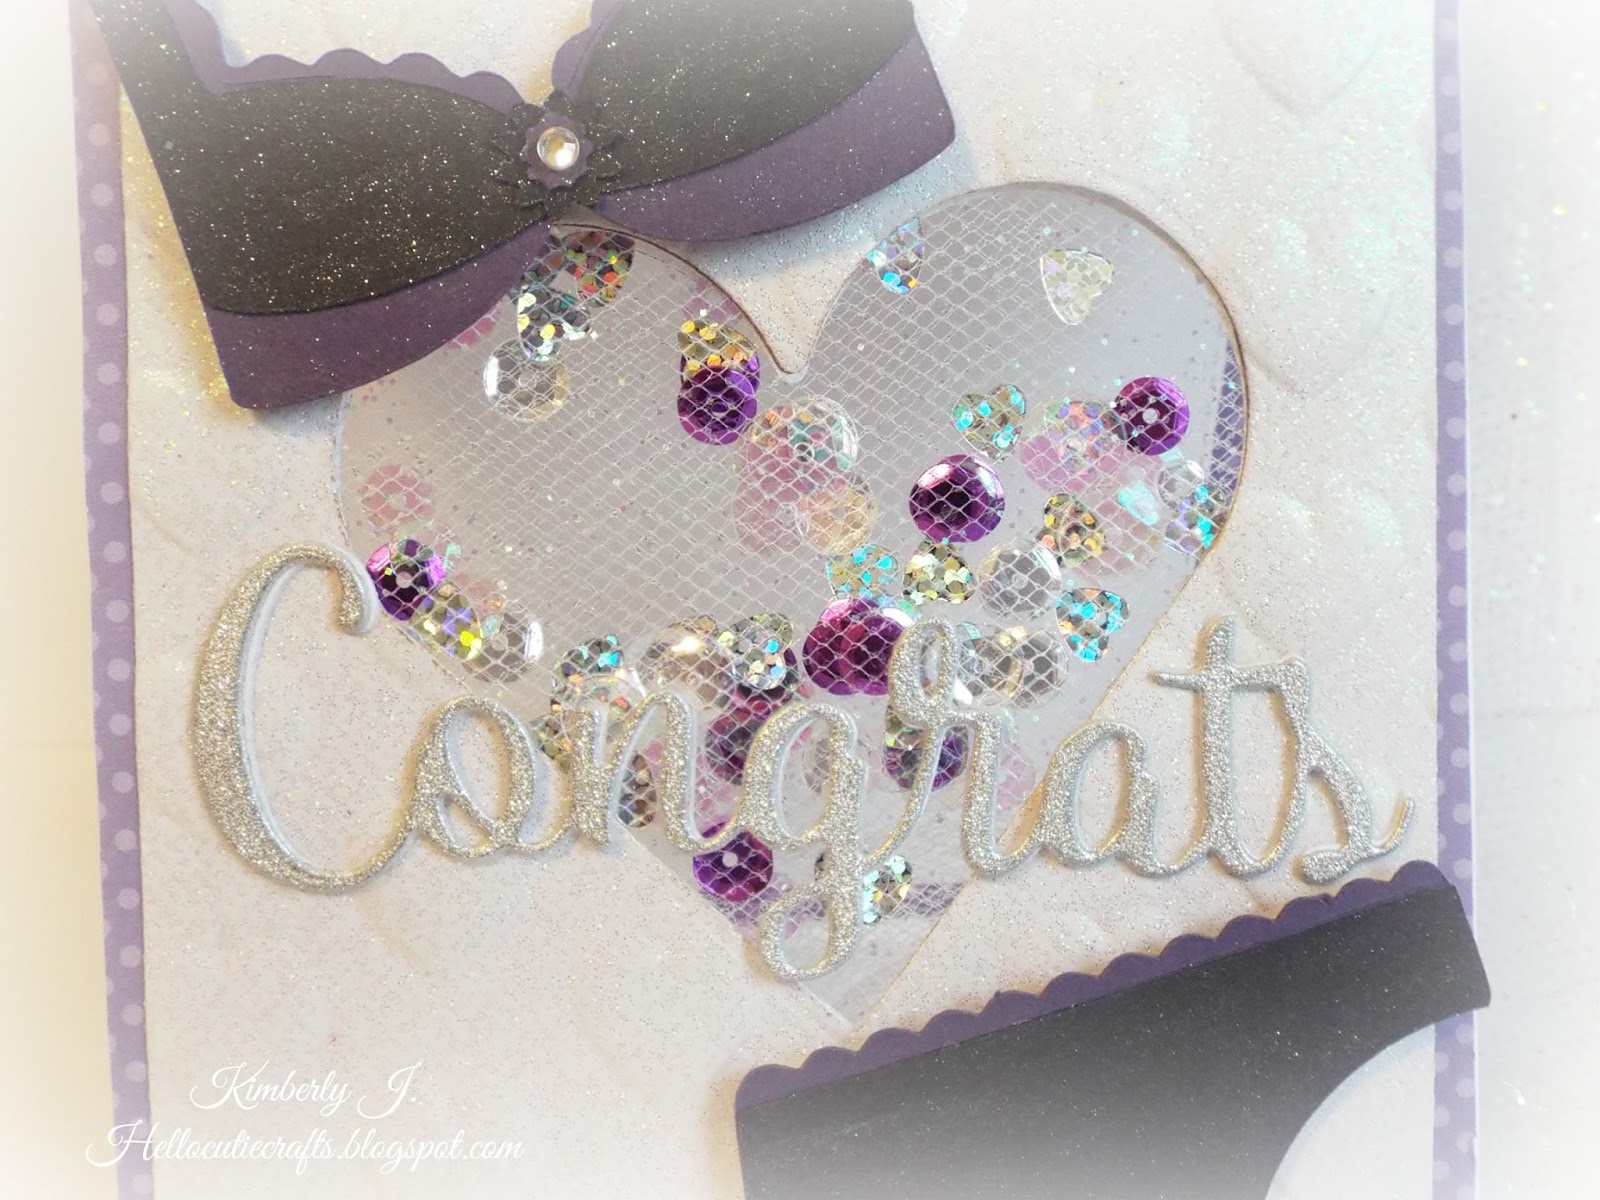
Close up of all that SPARKLE!!

Congrats Again to Helen and Sukie!!
Make sure visit their blogs and get inspired!!
Don't forget to visit the Trendy Twine Blog to see all the cards made for these two amazing ladies!
Have an amazing Day!


Hi Everyone!
Today I am sharing a project for
Pink and Main stamps and dies.

(This blog post contains affiliate links. Compensated affiliate links used when possible at no extra cost to you. I just receive a small portion of the sales through your purchase. So Thank You!!)

I made a shaker card using the new Seas The Day stamp set and the coordinating Seas The Day dies.
I started the card out by stamping, and copic coloring the cute Octopus and Turtle from the set, along with the starfish and some coral and greenery.
Then I die cut the Octopus, Turtle and starfish. 
Next, I die cut several frames (about 10), made with the two largest Stitched Rounded Rectangles Dies, to create a window for the shaker. I also die cut two of the largest Stitched Rounded Rectangles for the background and the inside of the card. Next, I suspended the Octopus and Turtle inside the shaker frame using some clear thread, they can move around just a bit. I stamped the bubbles on the background using some coordinating ink. Then I added the background panel to a A2 card base, followed by the shaker frame with the suspended Octopus and Turtle. Next, I took some Heat Resistant Acetate and embossed the "Seas the Day" sentiment in white from the set. I added some sequins and seed beads to the shaker window before layering the acetate and two more frames on top of that.

The Octopus and Turtle move around the shaker card
just a bit, its a really fun card.

The sentiment is a little hard to see in pictures, so here is a close up of it. I hope you were inspired today!! Shaker cards are so much fun and the possibilities are endless!! 

Thank you so much for stopping by!
Make sure to join the current
Pink and Main Challenge: Red, White and Blue.
I hope you have a wonderful day!! 

Other Supplies Used:
Paper- Pool Party cardstock (SU), Solar White 80lb. cardstock (Neenah), Heat Resistant Acetate
Ink- Pool Party (SU), Versamark ink, White Embossing powder (Ranger), White gel pen (Sakura), Copic markers
Other- Sequins- 4mm Sparkling Clear (Pretty Pink Posh), Iridescent (Darice), Seed Beads, Clear Thread, Crystal Clear Sparkle Pen (Spectrum Noir)
Hi Everyone!
Today I am sharing a project for Pink and Main stamps and dies.

(This blog post contains affiliate links. Compensated affiliate links used when possible at no extra cost to you. I just receive a small portion of the sales through your purchase. So Thank You!!)

Summer time is definitely a time for several occasions, Graduations, Family Reunions, Weddings, Vacations, etc. So for my card today, I made a bridal shower card to help inspire for all the weddings coming up. I used the Congrats Die on this one.

First, I dry embossed the white glitter cardstock with the Next Level embossing folder in Heart, then layered the purple dotted paper and die cut the heart window. I also die cut the heart window out of a white top folding card base. Then, I added some sparkly white tulle to the heart window and surrounded that with score tape, to act as a window for the shaker elements. Next, I added some iridescent, silver, clear, and purple sequins mixed to the tulle window and sealed it. I added the panel to the card base. Then I added the "Congrats" that I die cut twice in Silver glitter and white across the heart window. Then I popped up the bra and panties that I cut out with the Cricut from the Forever Young cartridge in black and purple. Finally, I added some Sparkle pen and a rhinestone to the bra.


Close up of the sparkly tulle window on the card.


Thank you so much for stopping by!
Make sure to join the current
Pink and Main Challenge: Red, White and Blue.
I hope you have a wonderful day!! 

Other Supplies Used:
Paper- Silver Glitter cardstock (American Crafts), White glitter cardstock (Bazzill), Purple dots pattern paper (The Paper studio), 80# White cardstock (Neenah), Purple and black cardstock (Recollections)
Die- Classic Hearts die (Spellbinders), Forever Young cartridge (Cricut)
Other- White glitter tulle (Target), Crystal Clear sparkle pen (Spectrum Noir), Next Level Dotted embossing folder (WRMK), Sequins, Rhinestones

Hi Everyone!
Today I am sharing a project for Pink and Main stamps and dies for the July Challenge!
Make sure to visit the Pink and Main Challenge blog to be inspired and play along!!

(This blog post contains affiliate links. Compensated affiliate links used when possible at no extra cost to you. I just receive a small portion of the sales through your purchase. So Thank You!!)

For my card, I used a few newly released products The Scoop stamp set, The Scoop coordinating Dies, Beach Bum 6x6 paper pad, Hello Die and the Stitched Rounded Rectangles Die to create my Red, White and Blue card.

I started the card by stamping, coloring and die cutting the boy with the ice cream cone from The Scoop stamp set and die. Next, I die cut a rectangle window out of the white card front panel with the Stitched Rounded Rectangle die then  I added the sentiment "What's the Scoop?" to the bottom of the window in black ink. Then, I embossed the panel with a We Are Memory Keepers Next Level folder- Dotted. I popped up the panel on a white card base and added some of the navy patterned paper from the Beach Bum 6x6 paper pad to the window and added the cute boy on the top.
I die cut the Hello from white and red card stock for dimension and added it to the top of the card. Finally, I finished the card with some enamel dots after I added the boy to the window.


I always try to add a little something to the inside of the card and I added a strip of the patterned paper and a colored and die cut ice cream cone from the set.


Thank you so much for stopping by!
Make sure to join the current
Pink and Main Challenge: Red, White and Blue.
I hope you have a wonderful day!! 

Other Supplies Used:
Paper- Solar White card stock #80 and #110 (Neenah)
Ink- Copic Markers, Tuxedo Black Memento ink, Versafine Onyx Black ink, White Gel Pen (Sakura)
Other- We are Memory Keepers Next Level Dotted embossing Folder, Crystal Clear Sparkle pen (Spectrum Noir), Enamel Dots (Recollections)